
Wouldn’t it be great to have a camera that starts recording when something moves? If you look for “wildlife camera” or “camera trap” you can buy cameras that do just that. But first, they are quite expensive, and second, the image quality leaves a lot to be desired. But most cameras have a connection for a remote release. Can’t we combine that with a motion sensor?
I ordered some of these HC-SR501* infrared or PIR motion detectors from Aliexpress, a link is in the description. The sensitivity and the duration of the switching time can be set on the two potentiometers on the side, for example for a light that is to remain switched on for a certain time. That doesn’t help us, because we need a start impulse at the beginning and a stop impulse at the end of the recording. We need an Arduino for that. Now the remote shutter release on my Panasonic Lumix works measuring the resistance of whatever is connected to the socket.

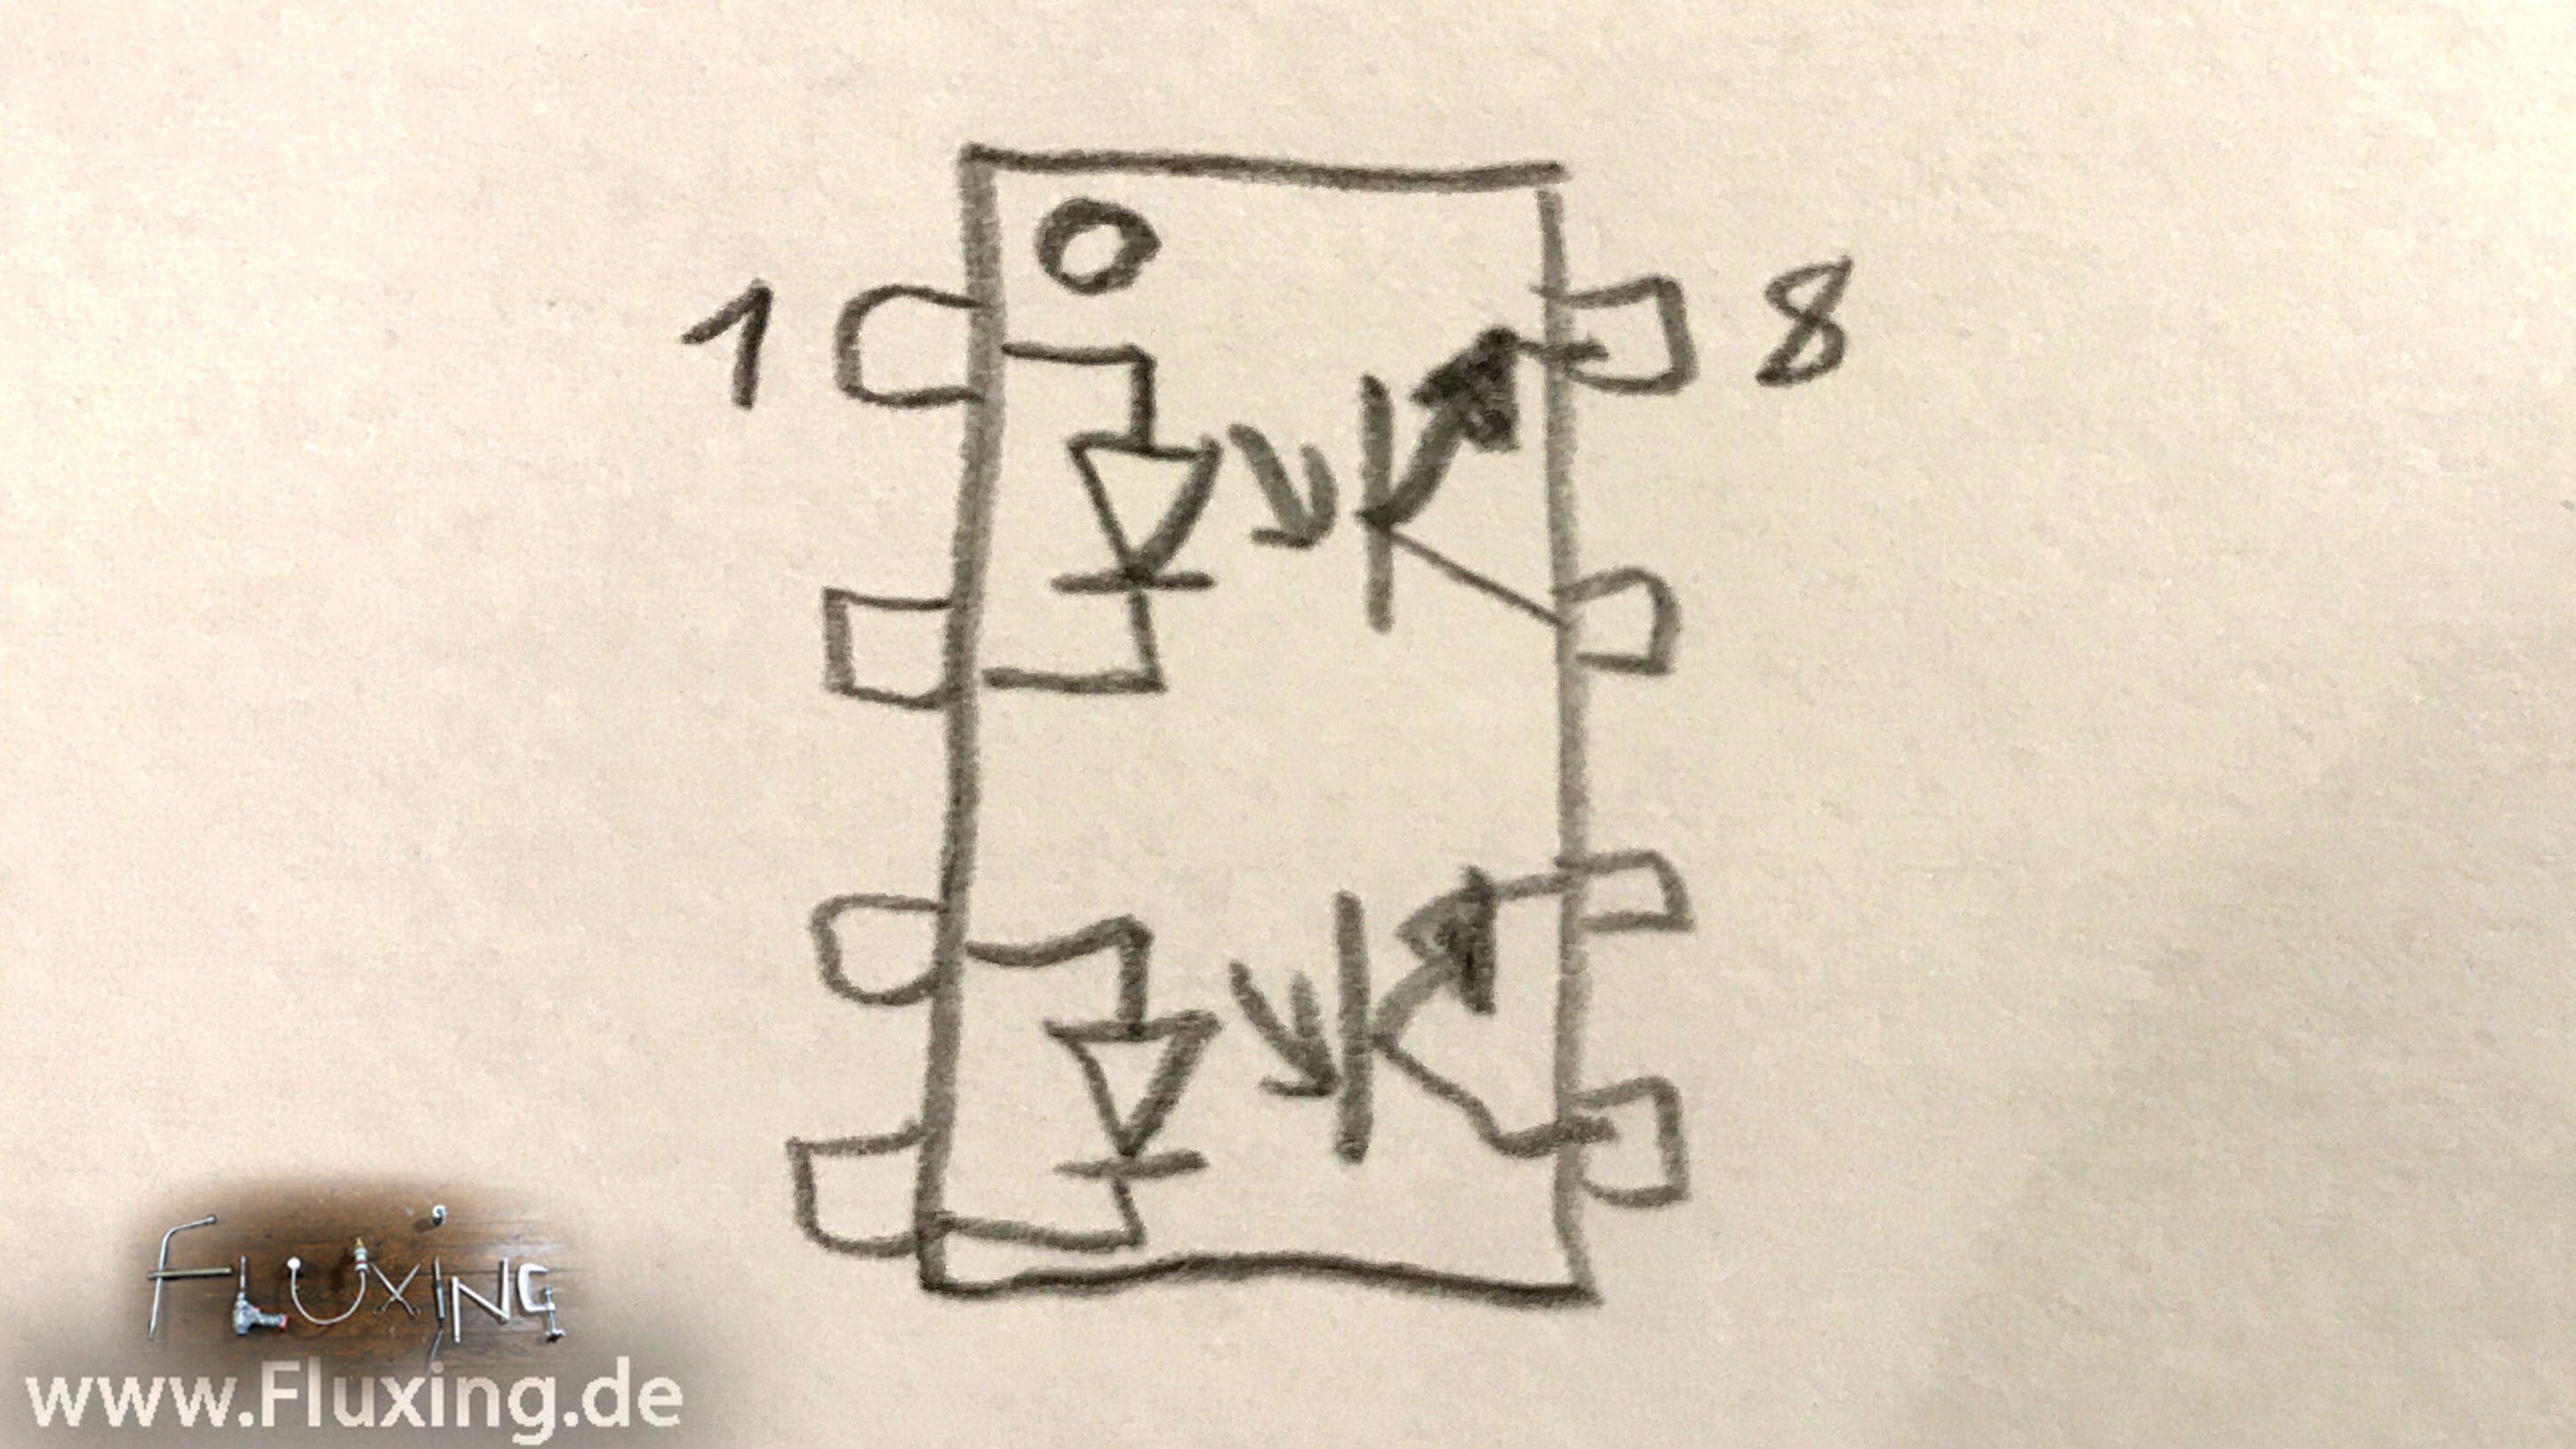
I don’t use the Focus button here. So I use an optocoupler instead of the shutter push button on the remote. This is a double one, a single one would have done it, but I still had this one.


My Panasonic Lumix G70 (the european G7) uses a 4-pin 2.5mm jack plug for the shutter release. I already destroyed a similar one in the video with the camera dolly. And I really don’t know how you’re supposed to solder it. If you know it, please tell me in the comments. At some point I managed it provisionally and fixed the whole thing with hot glue as a precaution.
Now I’ll test that. A 46k ohm resistor will probably fit. Carefully insert the Frankenstein plug into the camera. For triggering I bridge it with a 2k-Ohm resistor. And now the whole thing with Arduino.
I’ll just load the blink sketch that comes with the Arduino software as an example. It switches the LED and pin 13 on and off every second. So releasing the camera with the Arduino works already. This is the schematic:


But now the whole thing is supposed to get a nice little case. So I have to keep everything as small as possible.
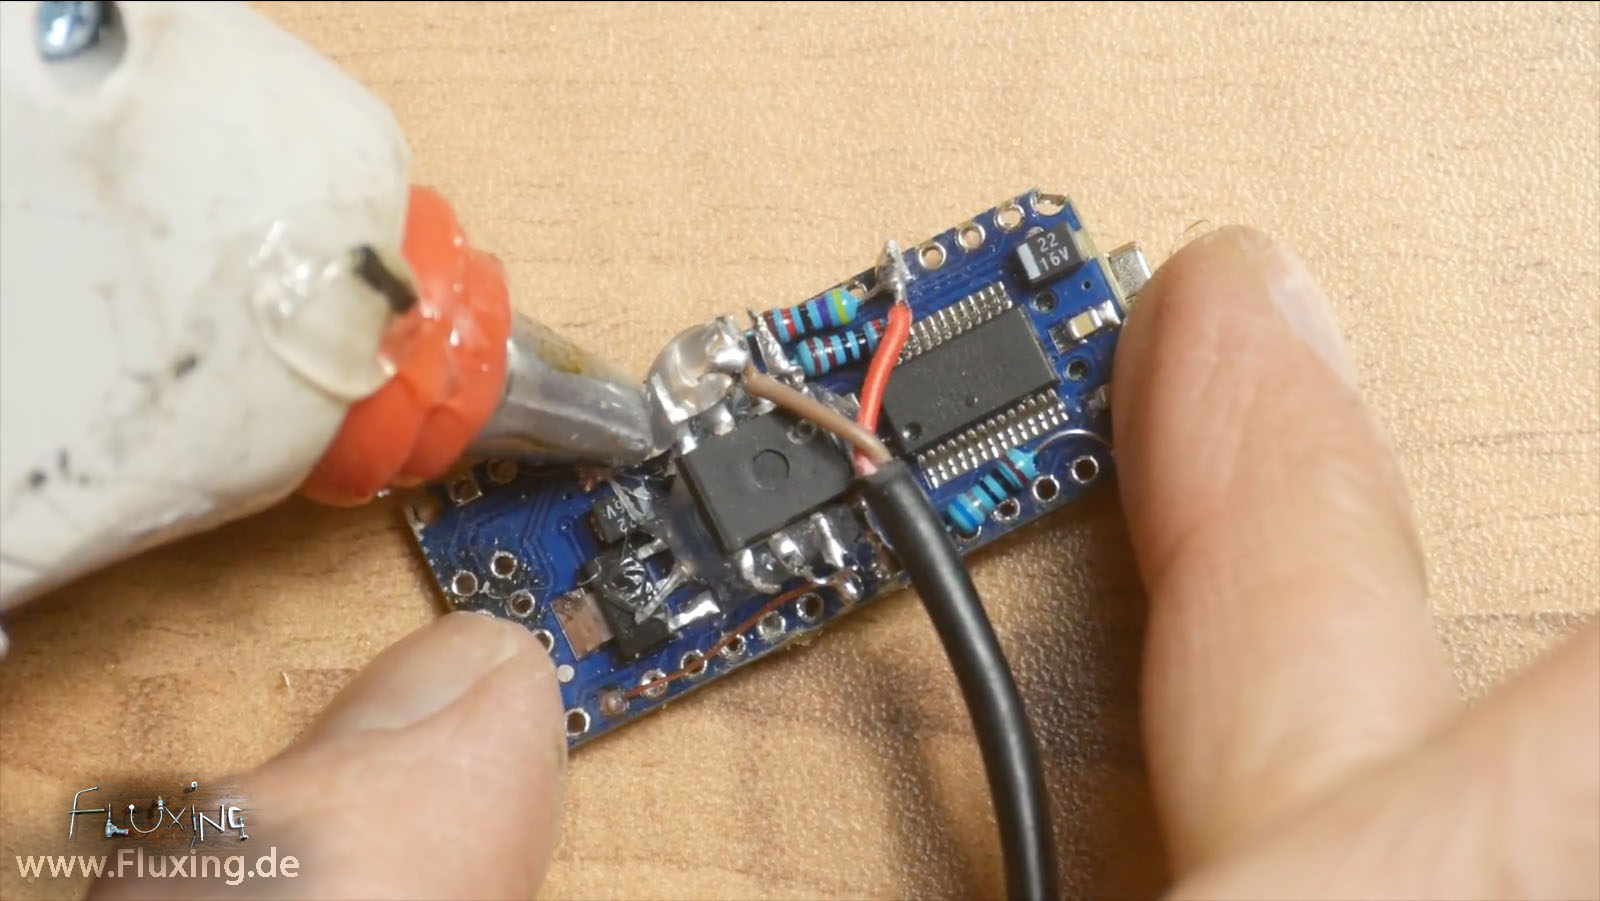
I stick the optocoupler directly to the Arduino. Yeah, sure, with hot glue. I bend the pins apart. And now for some floating wiring.
The preresistor for the optocoupler is connected to pin 13. The output of the motion detector is connected to pin 3. By the way, you can read under the cover how the pins are assigned.


I power it with a 12v battery. So that I can solder them, I grind the poles a little bit.
I have printed a housing on my 3D printer. In transparent plastic, so that the LEDs of the Arduino shine through. The files are available here:
There’s a switch in the top. From there it goes to V In on the Arduino and on the motion detector. Now everything just has to be stuffed into the case. That’s a little harder than I thought.
Now program the Arduino. Here is the code:


Well, that was a success. Mostly. And I would love to show you some recordings that I made with this thing, but the inevitable happened: The flimsy 2.5mm Jack didn’t survive. If you intend to do anything like this, I would recommend that you buy a cheap remote shutter and salvage the entire cable from it. I have ordered one myself, and as soon as I have received it I will post an update on Fluxing.de.
But this definitively won’t be the last project with these little motion sensors. So please come back next week, and don’t forget to click “like”and “subscribe”. I mean, subscribe only if you haven’t already, otherwise it would be “unsubscribe”, which isn’t really the idea.


